
When it comes to flooring, wood has remained one of the most popular options for
many years. There are several reasons for this; it looks fantastic and it’s incredibly
tough and durable. It comes in various different styles too, pay a visit to Wood Floor
Warehouse (woodfloorwarehouse.co.uk) and see for yourself.
Installing wood flooring yourself can be an affordable way to go about things. However,
it’s vital that you do so correctly to ensure your flooring looks as good as it possibly can.
We’ve put together X top tips for novices looking to install their very own wood floor.
Read on to check them out.
Get the Right Tools
Before you can get started laying your new wood flooring, you’re going to need the right
tools and equipment.
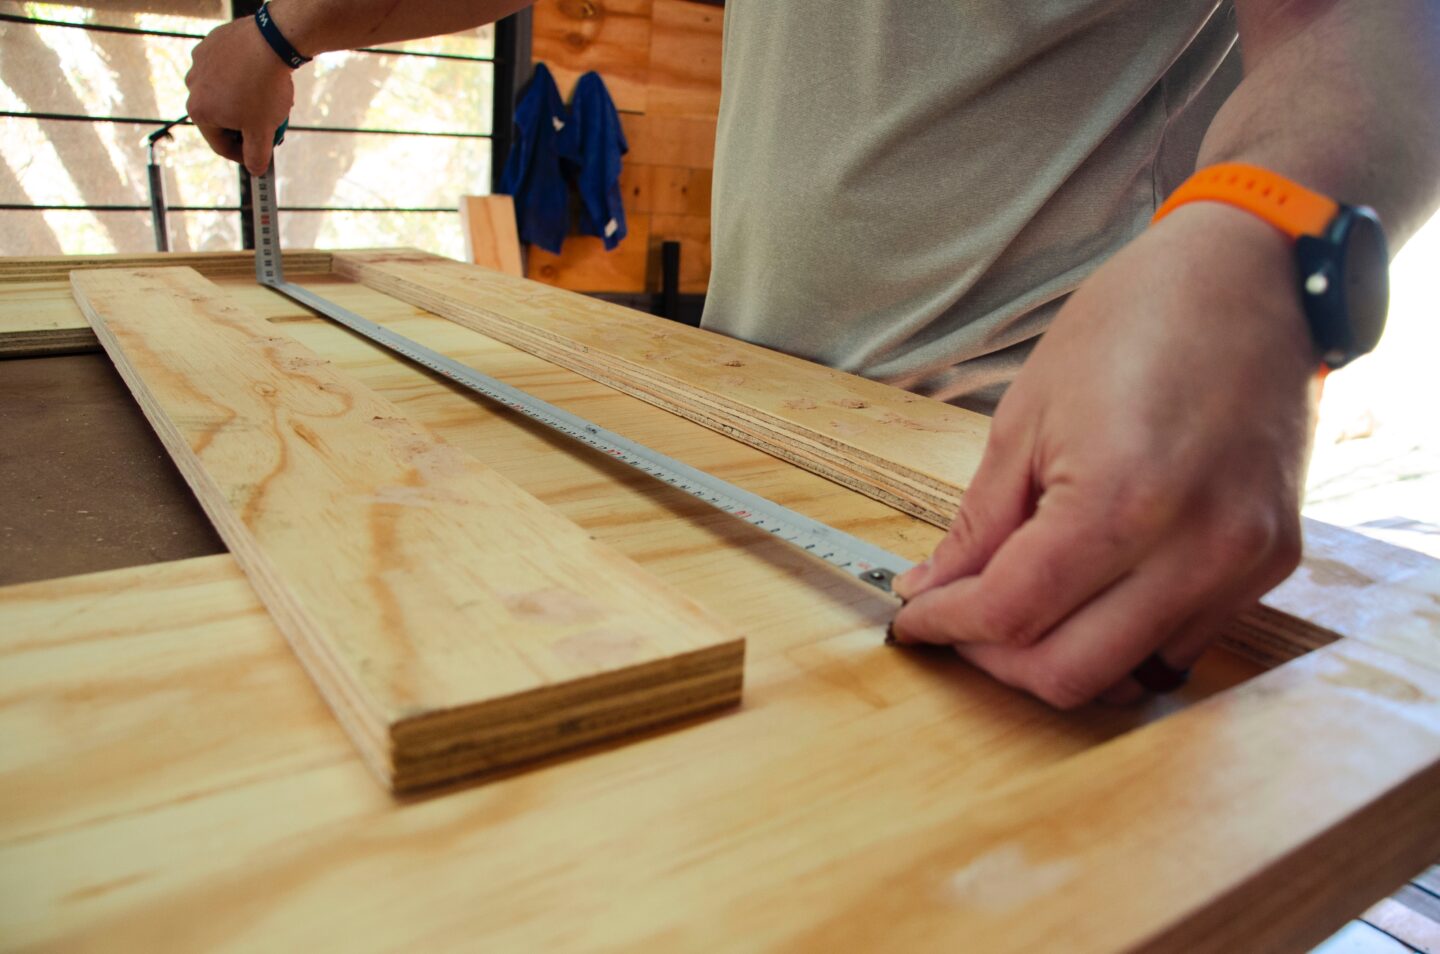
There are a few absolute essentials, including a saw for cutting pieces to size, a pencil
for marking areas, a measuring tape, and a spirit level. You’ll also need special glue or
a nail gun, depending on whether you are laying on a wood or concrete subfloor.
As well as the above essentials, there are a number of other tools that can make the job
much easier. Knee pads can reduce the pressure on your knees while you’re down
working on the ground, while a moisture meter can help you confirm that the conditions
are perfect for laying your new flooring.
Inspect the Conditions
Wood is a strong and durable material. However, it can react to certain environmental
conditions, and you must ensure that the conditions in the room are suitable for your
new flooring. Excess moisture can cause wood to warp and distort, so you need to
measure the moisture in the air and on the ground to confirm it is within an appropriate
range.
Air humidity levels should be between 45% and 65%, while subfloors should have
moisture content levels of no greater than 12%. A moisture meter can be used to test
subfloors, while air humidity can be tested with a hygrometer.
Acclimatise the Wood
As we mentioned above, wood is sensitive to atmospheric and environmental
conditions. This means that laying your flooring straight away could cause issues, as
the material will change shape as it settles into its new environment.
The best way to prevent this from happening is to acclimatise the wood in the room
before laying it. This can be done by simply leaving your flooring in the room for at least
a week. Keep the flooring in its original packaging, but don’t stack boxes too high or
pack them too closely together, as this will prevent air from circulating around them and
stop them from acclimatising properly.
Prepare the Subfloor
Once you have acclimatised the wood, the next step before laying it is to prepare the
subfloor. This step is crucial, a poor-quality subfloor can make laying the flooring
properly and neatly impossible and can leave your flooring looking uneven and messy.
Ensure the subfloor is clear of all debris and thoroughly sweep it to remove all traces of
dirt and dust. You’ll need to make sure it’s flat too, check with your spirit level and even
out bumpy areas to keep the surface level.
For wood subfloors, ensure all floorboards are firmly secured, and fill any gaps you can
see with a mastic flexible filler.
Conclusion
Wood flooring can look fantastic in any home, it will give your space a sense of class,
elegance, and timelessness. If you have decided that you want to install your new
flooring yourself, use the tips in this guide to ensure you are approaching things
correctly and your flooring will look incredible as a result.
