When designing a garden, it can hard to figure out where to start and what you want to create – because all gardens are beautiful and different. I love having pots of flowers, and even if your space is limited, these can always be made into hanging planters. Consider filling your containers with some perennials; these plants come back next year and will be less work and more value for money. If you are looking at attracting pollinators with your flower tubs, then be sure to investigate which are the best flowers that attract bees, hummingbirds, and butterflies.
Some of my favourite whimsical craft projects are for my garden. It’s fun to add a little extra quirk to the garden. My latest creations have been fairy door terracotta pots. After all, what’s more, magical than the garden? Tiny doors placed throughout the garden make it a little extra special, and your kids/ my nieces and nephews will love them! Setting up the mini-scenes all over the garden is a fun activity, and adults and children will delight in stumbling across these “secret” homes. They are perfect for giving your garden a boost over the colder months too.
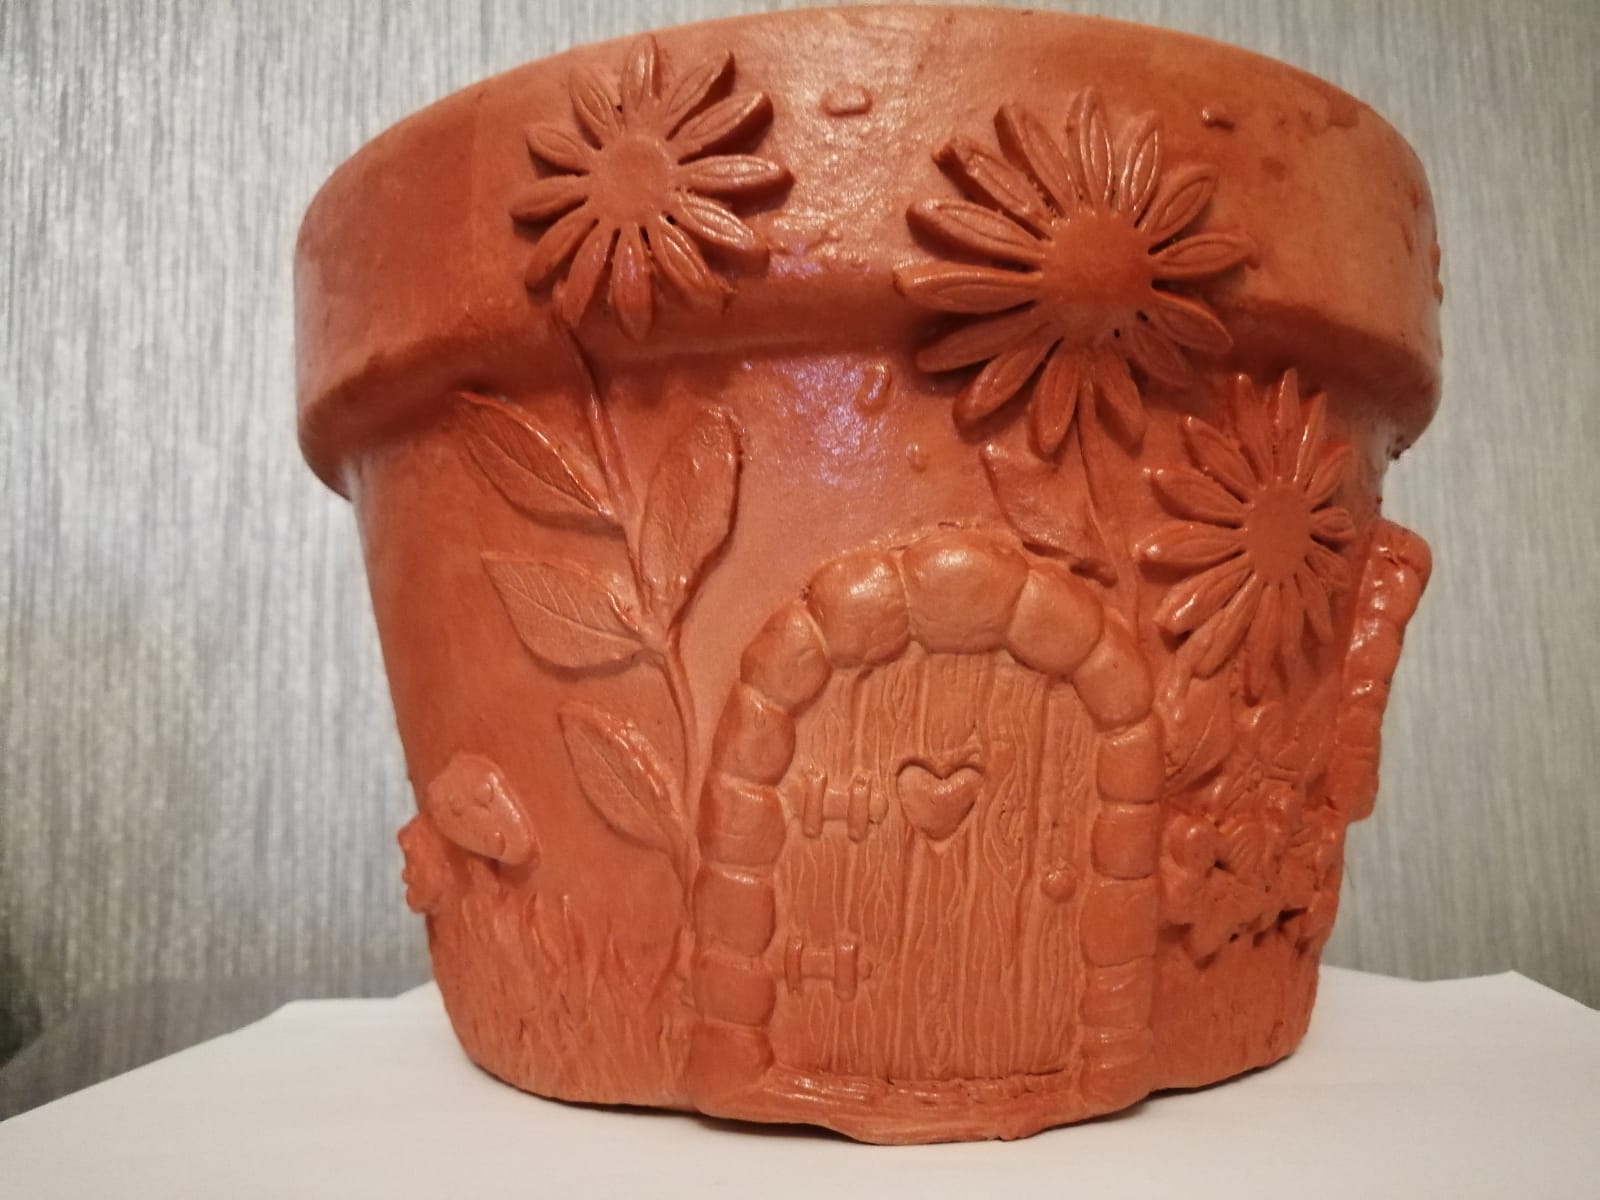
If you’ve enjoyed looking for fairy doors as lots of communities have during Covid lockdown, you’re going to love this magical DIY fairy door planter tutorial. This magical fairy garden pot combines the whimsy of a fairy garden with the practicality of a standard planter! Fairy Gardens are such a popular trend now so I decided to add the playfulness of a Fairy Garden to a practical terra cotta planter so that I could still use it for flowers. You can be as creative as you like with this fun and functional hobby. This Magical Fairy Garden Planter is still adorable, but now I can use it for years to come!
Magical Fairy Garden Planter Materials:
- Terra Cotta Pot
- Terracotta Air Drying Clay
- Moulds – Doorways, Windows, Mushrooms, Leaves, Flowers Keys etc…
- Waterproof Adhesive
- Plasti-Kote Super Clear Spray to seal
- Decorations – Anything extra you fancy, pebbles, sea glass, glitters, dried flowers etc…
Step One
There are so many different Fairy Door accessories and moulds that you can choose from, so just use the supply list above as suggestions. I’ve found that I can use my door mould and easily cut down the Terracotta Air Drying Clay to make matching windows. I may add more door and window moulds to my collection as I keep making the pots. You are, of course, more than welcome to use a differently shaped door mould or buy extra accent moulds. Totally up to your own whims and desires!
Step Two
Use the waterproof adhesive, as soon as you take the clay out of the mould to begin adhering it in place. I cannot lie; this step can be a little tedious and time-consuming holding each item in place as the glue dries a bit. Therefore it is wise to get a good product.
Step Three
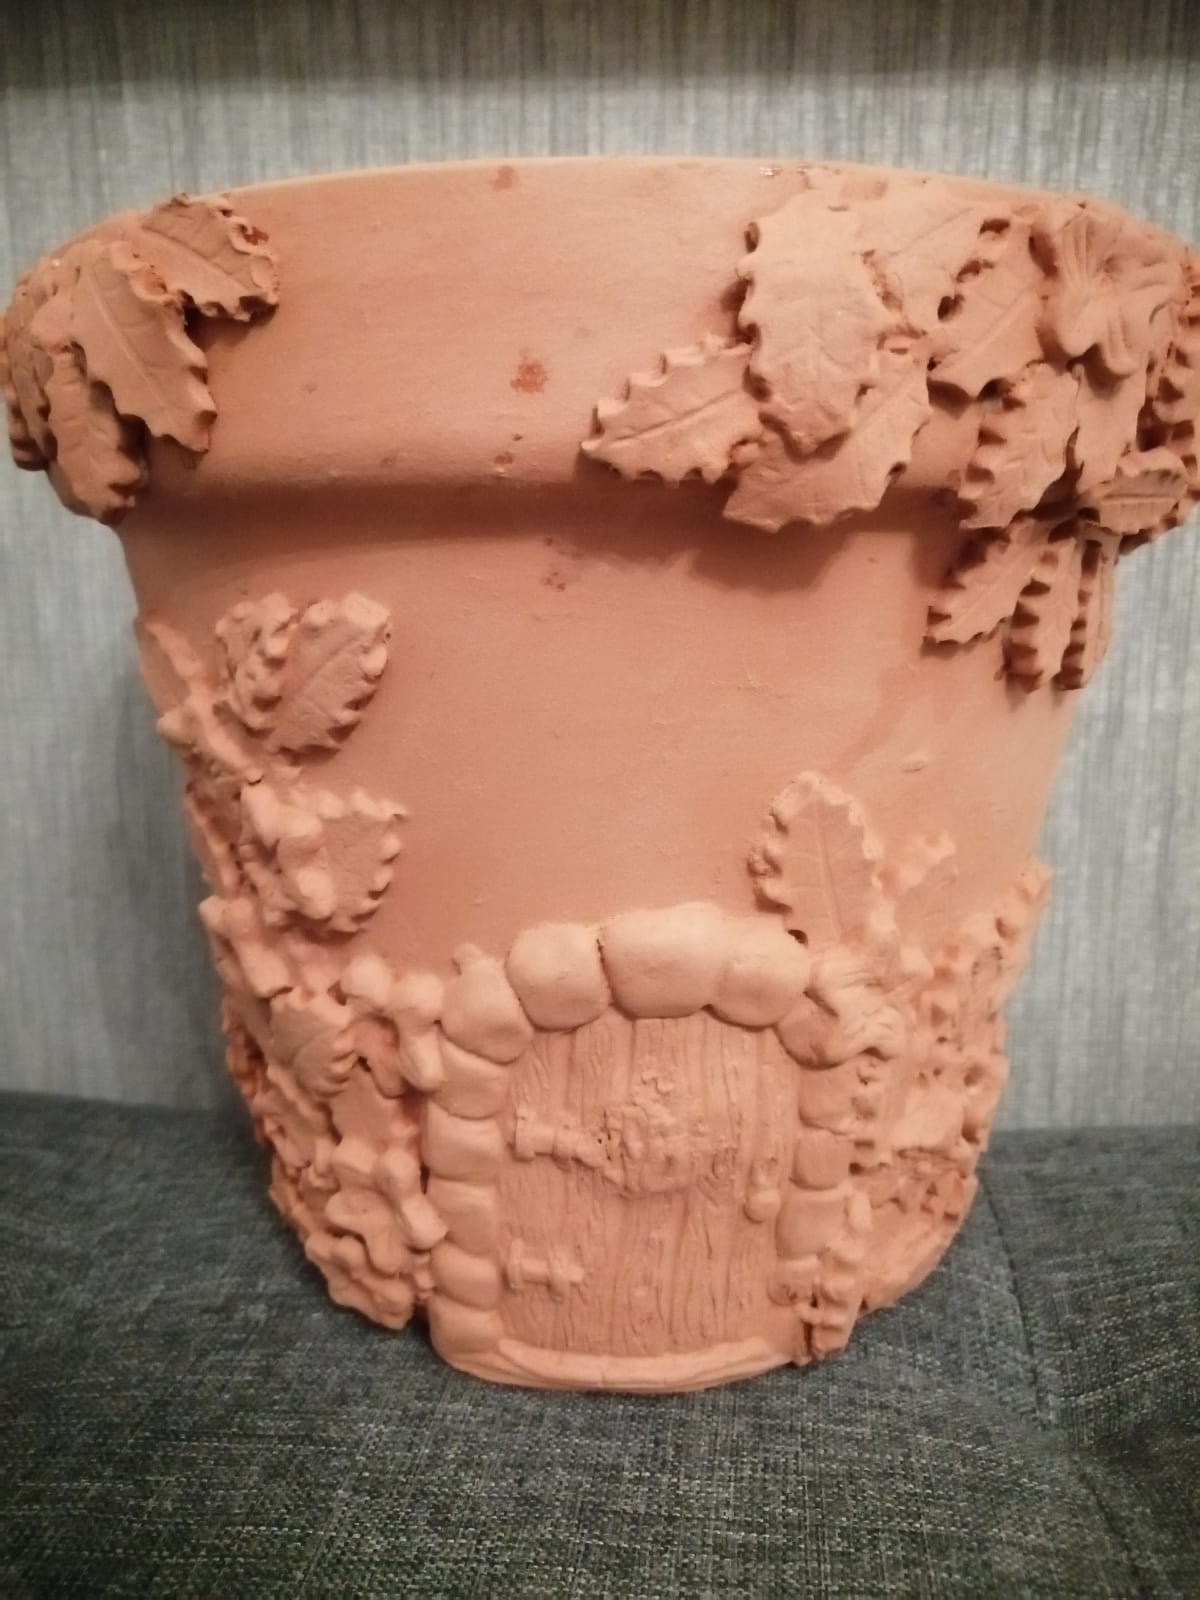
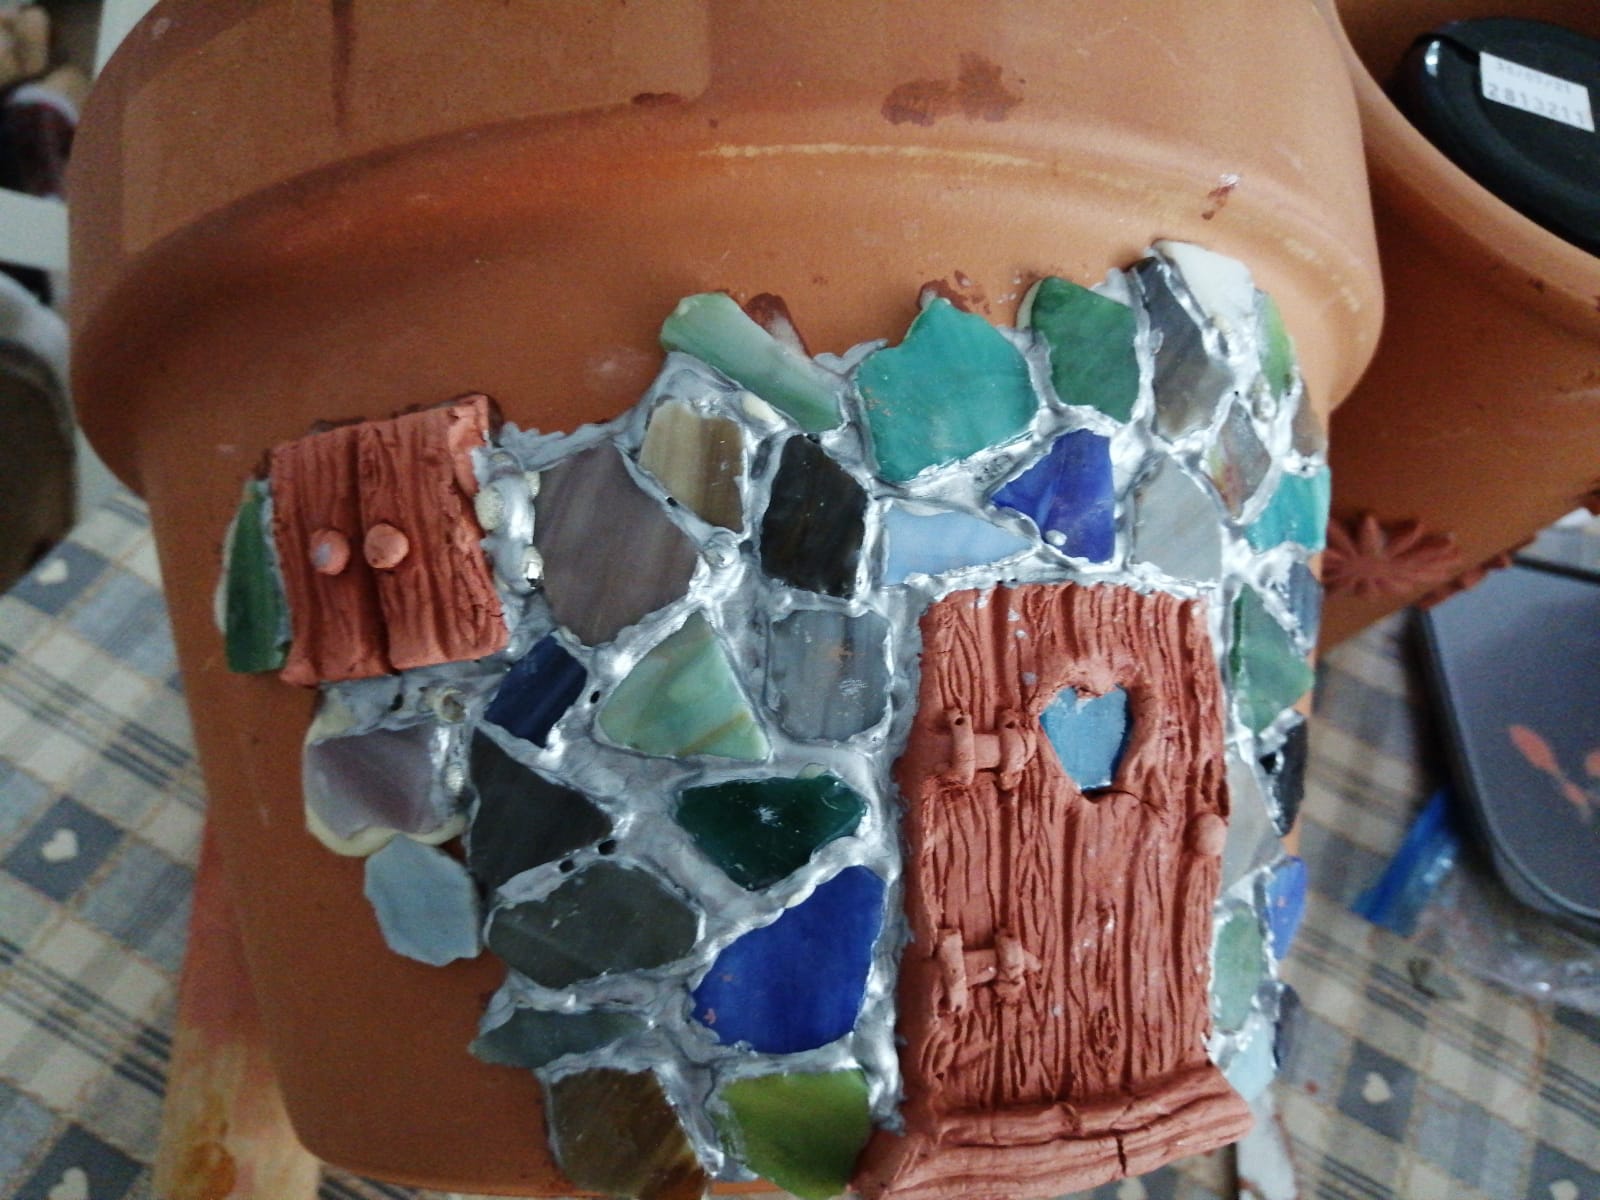
Once the glue has dried completely for attaching your moulded items, you can start getting creative. There are so many things you can add at this stage, as you can see from some of my creations. You may want to leave it very simple, apply a mosaic effect or use your clay and some real leaves and flowers and a rolling pin to create a rustic fairy door. Add the final accents until you’re happy with the look. The small mushrooms mould is my absolute favourite part of my magical fairy garden pot!
Step Four
Seal your design with a waterproof, tough and hard-wearing sealant that can be used for exteriors. I’ve used a clear spray sealant so far although I may branch out into the stone effect spray sealants too.
Step Five
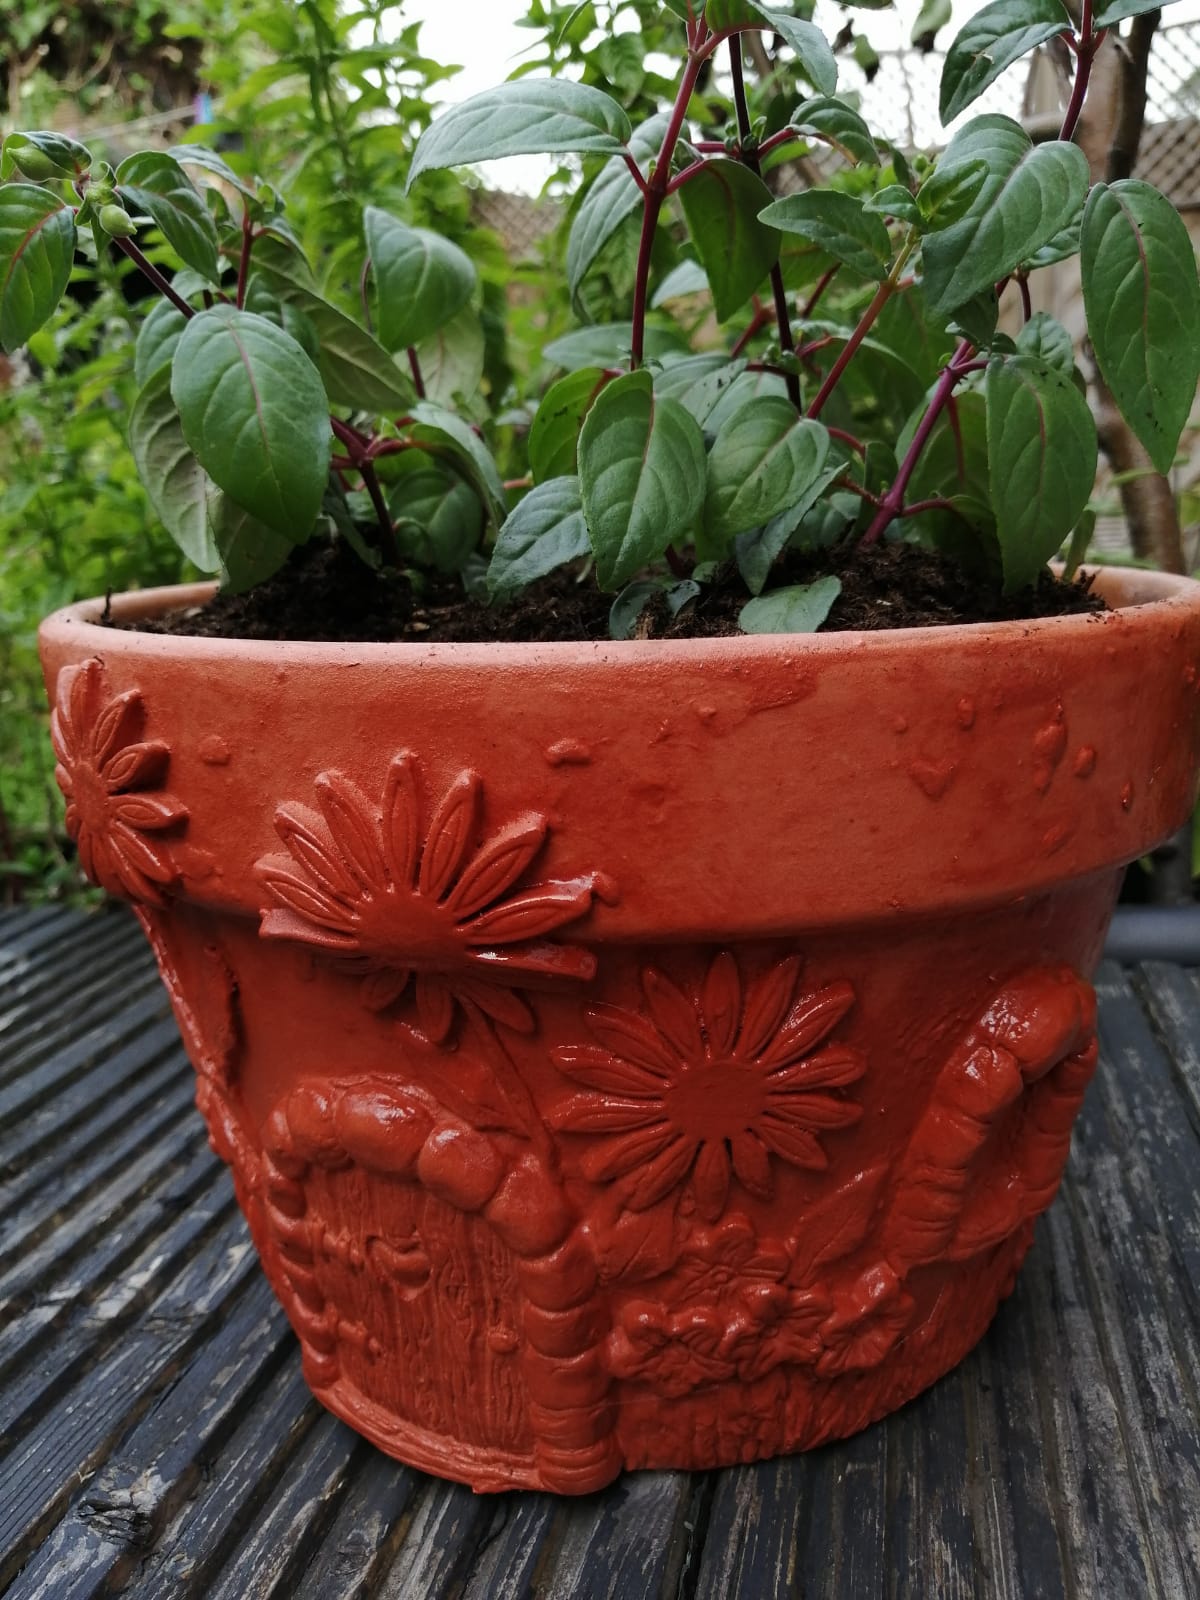
The last step is to add your plants and enjoy! And there you have it, a super cute fairy door planter that can be used with any plant you’d like.